Set up your development environment
In order to develop your own java classes to use for pre and post scoring and API management, it is recommended that you set up a local development evironment in order to test and debug your code.
Prerequisites
Before you can configure your pre and post scoring logic, you will need to have the following set up on your local machine:
- Install IntelliJ or update your current install to the latest version
- Install Java Corretto 17
- Clone the ecosystem-runtime-localbuild repo from GitHub https://github.com/ecogenetic/ecosystem-runtime-localbuild . There are different branches for different versions of the runtime. The default branch is for the latest version of the runtime. If you are working with a specific version of the runtime then check out the branch for that version.
IntelliJ Configuration
We want to open the project in the ecosystem-runtime-localbuild repo in IntelliJ. Start IntelliJ, select Open Project and select the folder created when cloning the repo. Trust the project. Once IntelliJ has finished processing the project you should see the following view. If the pom.xml file is not open in the editor window then open it from the file structure menu on the left of the screen.

Copy the text below from the pom.xml file
<settings>
   <mirrors>
     <mirror>
         <id>ecosystem-repo</id>
         <name>Maven Repository Manager running on customer.ecosystem.ai</name>
         <url>https://maven.ecosystem.ai</url>
         <mirrorOf>ecosystem-repo</mirrorOf>
     </mirror>
   </mirrors>
</settings>
Open Settings and navigate to the Maven section (see screenshot) and take note of the file location in the User settings file box

Create a settings.xml file in the specified location and copy the text from the pom into the file.
Go back to the settings menu and select plugins. Install the ecosystem.Ai prediction server plugin.

Now in the settings menu go to Tools and select the ecosystem plugin and change the server to http://your-server-url:3001 .

You should now be able to open the ecosystem.Ai on the right hand side of the interface and the panel which opens should show the projects loaded in your local environment.

Next open the plugin.properties file and specify the project name, deployment name and deployment version of the configuration that you would like to work on in IntelliJ.

Open the Tool menu and select Pull Plugin from ecosystem.Ai server.

Right click on the project root folder and select Refresh from Disk to have the pulled files appear in the tree.

Now in the IntelliJ menu go to File -> Project Structure, select SDKs under Platform Settings, click the + to add a new SDK and select corretto-17.

Now go to the Run menu and select Edit Configurations.

Add a new configuration and select Application. Then change the three settings highlighted in the image below.

Now select Environment variables create the MASTER_KEY environment variable. MASTER_KEY should be the license key your license key for the ecosystem.Ai environment. There are a number of additional environment variables which can be set.

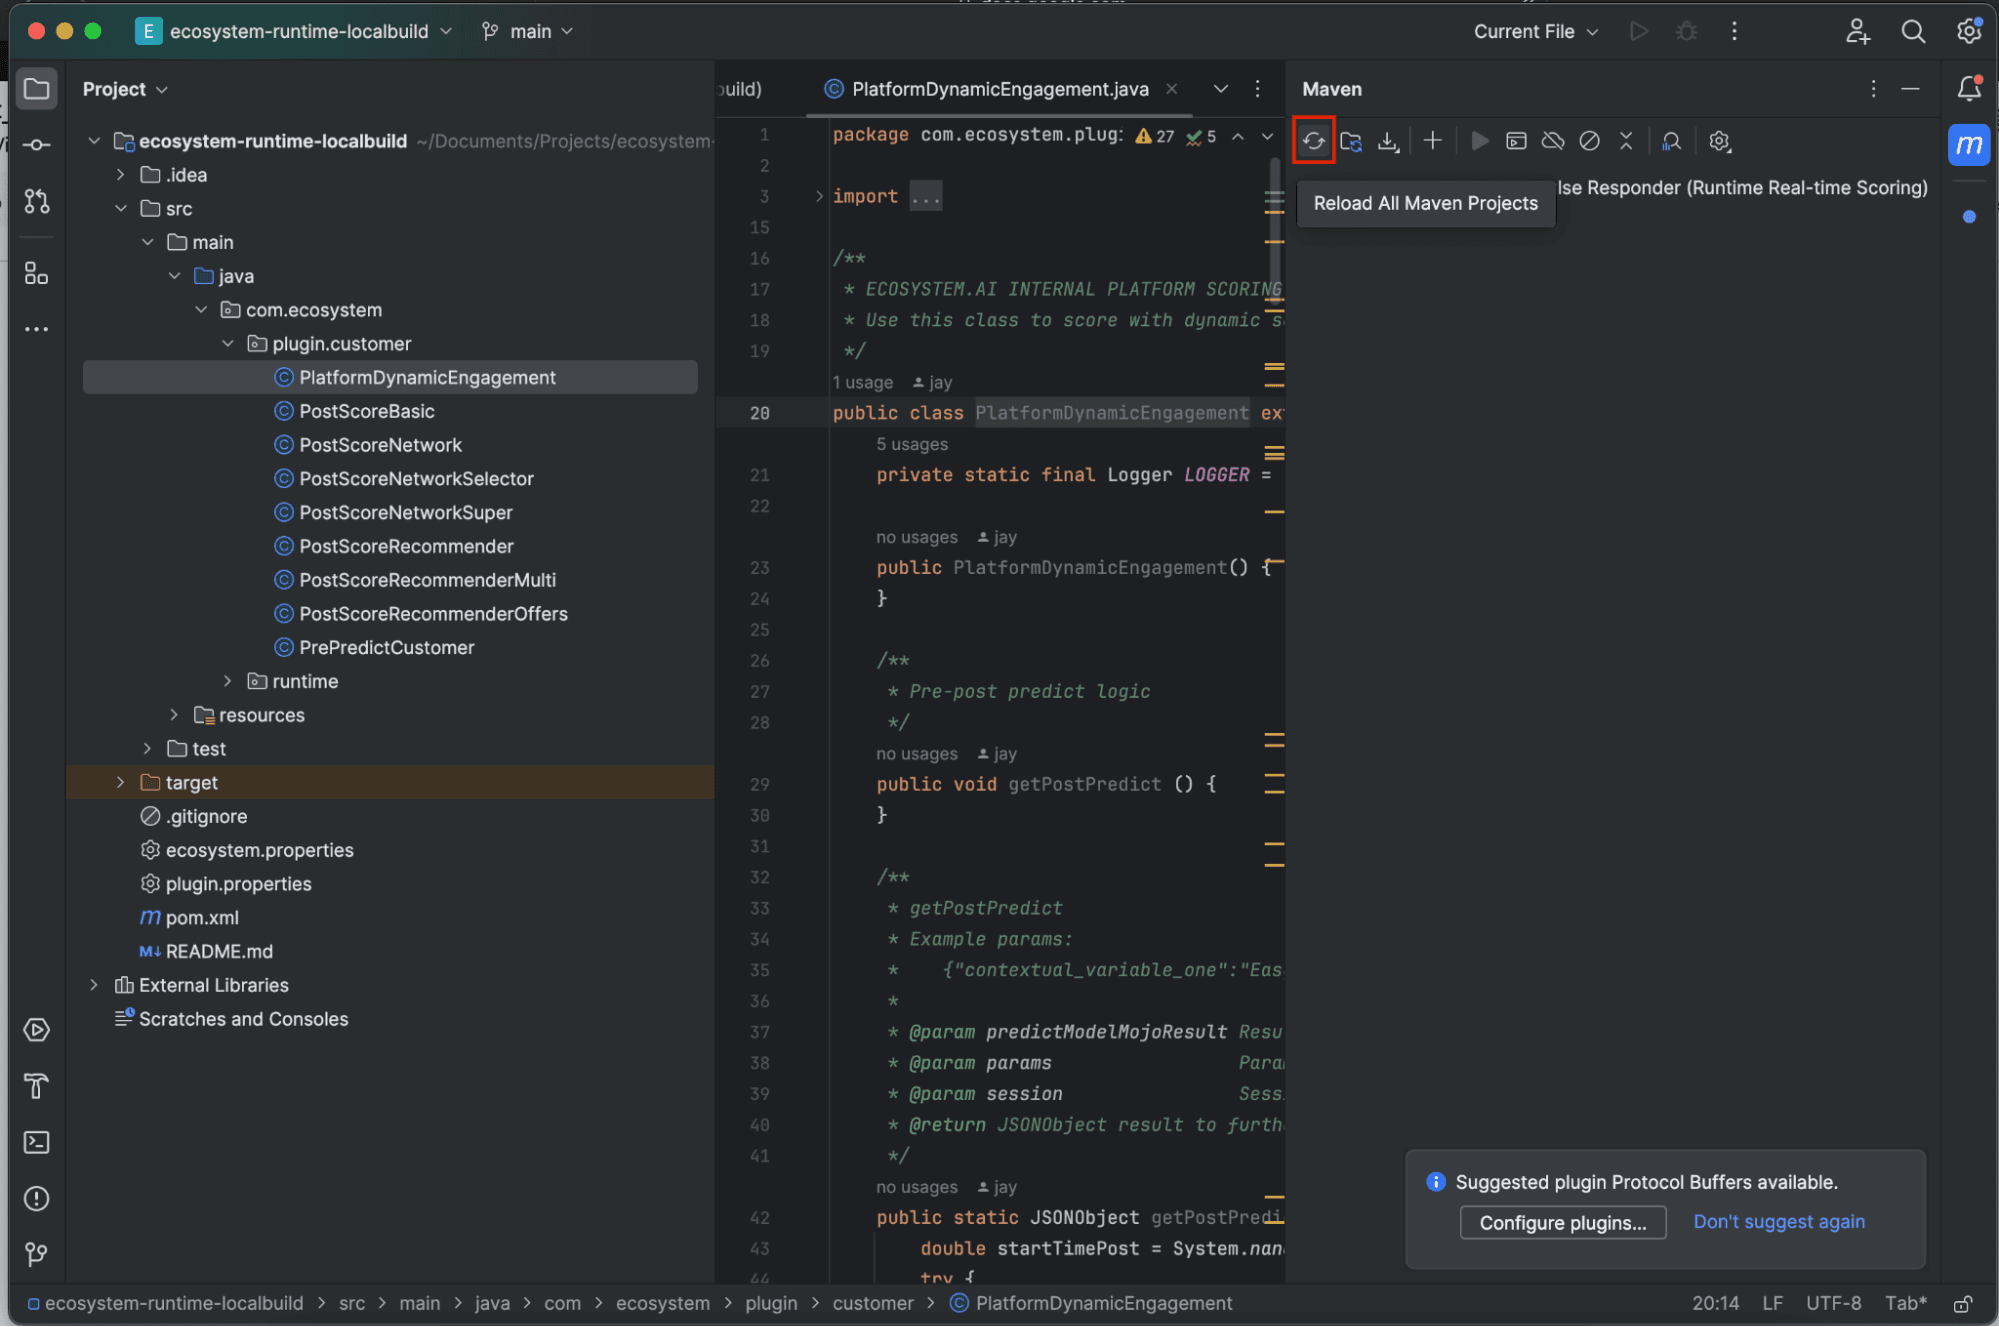
Open the maven menu in IntelliJ and reload the project.
If you receive errors after running this step there are a couple of troubleshooting steps:
- Confirm that you can access https://maven.ecosystem.ai/ in your browser. If not you will need to connect to another network where the URL is accessible before proceeding.
- Navigate to the directory you created the settings.xml file and delete the repository and wrapper folders if they are present. Then in the maven menu in IntelliJ select Execute Maven Goal and run
mvn -U clean install. Once you have completed the troubleshooting steps select Reload All Maven Projects from the Maven menu.
We can now run the default project. Click debug.

The logs for the runtime should now appear in the console.

You can now use this environment to develop and debug your pre and post scoring logic for the runtime.